
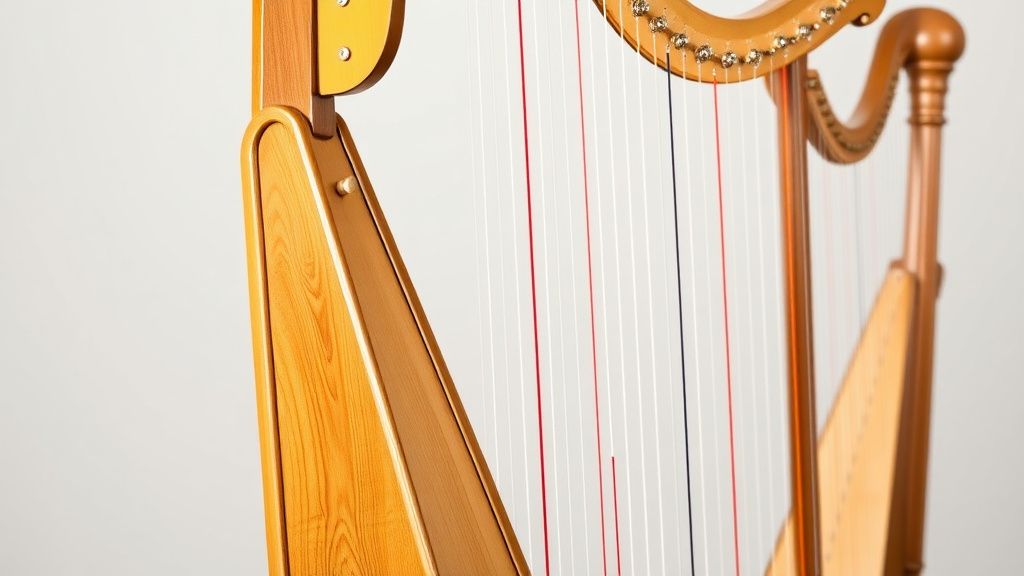
Replacing Harp Strings: A DIY Guide for All Levels
Replacing harp strings is an essential skill for harpists of all levels. Whether you’re a beginner or a seasoned player, knowing how to properly install and maintain your strings ensures optimal sound quality and instrument longevity. This guide covers everything from selecting the right strings to step-by-step replacement techniques.
Types of Harp Strings
Harp strings come in various materials, each affecting tone, durability, and playability. The most common types include:
- Gut Strings: Made from sheep intestine, these produce a warm, rich tone favored by classical and lever harp players. They require frequent tuning and are sensitive to humidity.
- Nylon Strings: Affordable and stable, nylon strings are popular for pedal and lever harps. They offer bright, clear tones and are less affected by weather changes.
- Wire Strings: Used for the highest octaves on pedal harps, these are typically made of steel or copper-wound steel for a bright, metallic sound.
- Carbon Fiber Strings: A modern alternative, these are durable, resistant to humidity, and produce a balanced tone. They’re often used in professional settings.
Tools You’ll Need
Before starting, gather these essentials:
- String winder or tuning key (for lever and pedal harps)
- Wire cutters (for trimming excess wire strings)
- Soft cloth (to clean the soundboard)
- Replacement strings (matched to your harp’s specifications)
- Tuner (to ensure accurate pitch)
Step-by-Step String Replacement
1. Remove the Old String
- For lever harps: Loosen the string by turning the tuning pin counterclockwise until slack. Unloop the string from the pin and bridge.
- For pedal harps: Adjust the pedal to slacken the string, then carefully unwind it from the tuning pin and disc.
2. Clean the Area
Wipe the soundboard and bridge with a soft cloth to remove dust or residue. This ensures better contact for the new string.
3. Install the New String
- Gut/Nylon Strings: Thread the string through the soundboard hole and tie a secure knot (e.g., a double hitch or bowline). Loop the other end around the tuning pin, leaving a small tail. Wind the pin clockwise while maintaining tension.
- Wire Strings: Insert the string through the soundboard and secure it with a bead or knot. Wind the wire around the tuning pin, ensuring no sharp bends that could cause breakage.
4. Tune and Stretch
- Gradually tune the string to pitch, stretching it gently to stabilize tension.
- Retune frequently during the first few days, as new strings settle.
5. Trim Excess
Once stable, trim excess wire or nylon with cutters, leaving about 1–2 inches to prevent slippage.
What to Look for in Replacement Strings
When purchasing harp strings, consider:
- Material: Match your harp’s requirements and desired tone (e.g., gut for warmth, nylon for brightness).
- Gauge/Thickness: Ensure the string diameter aligns with your harp’s scale (check manufacturer charts).
- Brand Reputation: Trusted brands like Bow Brand, Lyon & Healy, or Salvi offer reliable quality.
- Climate Compatibility: Gut strings may not suit humid environments, while carbon fiber excels in variable conditions.
Troubleshooting Common Issues
- Slipping Strings: Ensure knots are tight and winding is neat. For wire strings, check for proper bead seating.
- Twisting Gut/Nylon: Rotate the tuning pin smoothly to avoid kinks.
- Breaking Strings: Verify correct gauge and avoid overtightening.
Maintenance Tips
- Regular Inspection: Check for fraying, discoloration, or wear, especially near stress points.
- Humidity Control: Store your harp in a stable environment (40–60% humidity) to prolong string life.
- Professional Help: If unsure, consult a harp technician for complex replacements (e.g., pedal harp discs).
By mastering string replacement, you’ll keep your harp sounding its best and reduce downtime between performances. With practice, this process becomes quick and intuitive, empowering you to maintain your instrument with confidence.
Our picks worth a closer look
- Lap Harp Professional Music Instrument Diy 10 Strings Harps Wh02 String Wooden NCheck on Amazon → — see current price and specs.
- 50 Irish Melodies for All Harps | Harp Sheet Music Songbook for Lever and Pedal Check on Amazon → — see current price and specs.
- 22 Romantic Songs for the Harp | Intermediate Harp Sheet Music for Lever and PedCheck on Amazon → — see current price and specs.
- Stairway to Heaven | Harp Sheet Music Arrangement for Lever and Pedal Harp | SylCheck on Amazon → — see current price and specs.
- Harp Exercises for Speed and Agility By Deborah Friou | Finger Strength and HandCheck on Amazon → — see current price and specs.