
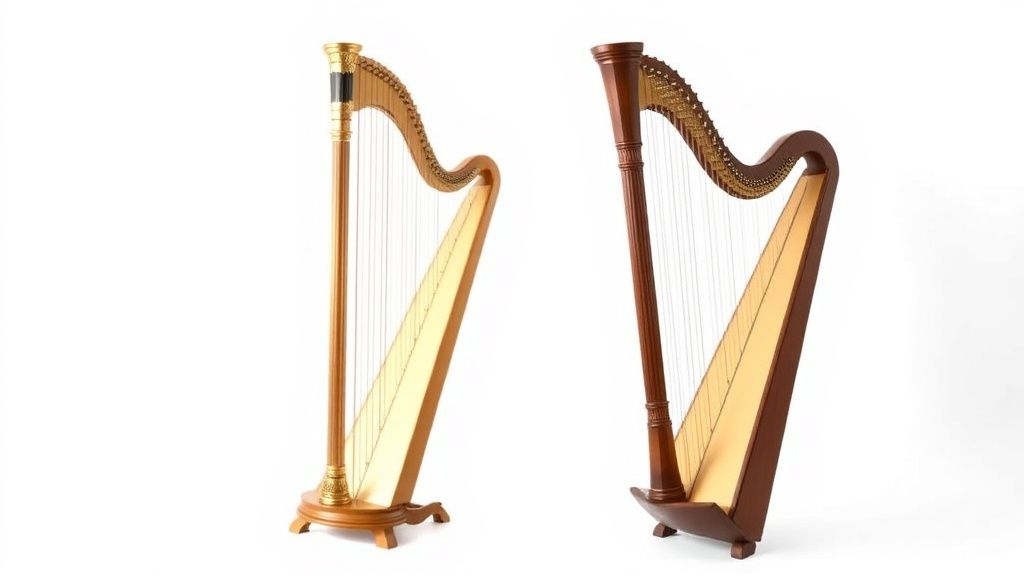
Learning to Tune Your Harp: A Step-by-Step Tutorial
Tuning your harp is an essential skill for any harpist, whether you’re a beginner or a seasoned player. A well-tuned harp ensures clarity, resonance, and a pleasant playing experience. This guide will walk you through the process step by step, covering tools, techniques, and tips for maintaining your harp’s sound.
Why Tuning Matters
A harp’s strings are sensitive to temperature, humidity, and playing tension. Over time, they naturally go out of tune, affecting the instrument’s tonal quality. Regular tuning keeps your harp sounding its best and helps train your ear for pitch accuracy.
Tools You’ll Need
Before you begin, gather the following tools:
- Tuning Key: Most harps come with a tuning key, but if yours didn’t, ensure you get one that fits your harp’s tuning pins snugly. Lever harps typically use a smaller key, while pedal harps require a larger one.
- Electronic Tuner: A chromatic tuner is ideal, as it detects all notes in the scale. Clip-on tuners or smartphone apps (like Cleartune or insTuner) work well for lever harps. Pedal harpists may prefer a more advanced tuner with pedal settings.
- Tuning Fork or Pitch Pipe (Optional): Useful for tuning by ear if you don’t have an electronic tuner. A440 is the standard reference pitch.
Step 1: Prepare Your Harp
Place your harp on a stable, flat surface where you can easily access all strings. Ensure the room is quiet, as background noise can interfere with tuning accuracy. If using an electronic tuner, clip it onto the harp’s soundboard or place it nearby.
Step 2: Identify the Strings
Harp strings are color-coded for easy identification:
- C strings are typically red.
- F strings are usually black or blue.
- The remaining strings are white or another neutral color.
This color-coding helps you quickly locate the correct string when tuning.
Step 3: Tuning with an Electronic Tuner
- Turn on the tuner and select chromatic mode (not guitar or violin mode).
- Pluck a string firmly and let it ring. The tuner will display the note name and whether it’s sharp (#) or flat (♭).
- Adjust the tuning pin:
- If the note is flat, turn the tuning key clockwise to tighten the string.
- If the note is sharp, turn the key counterclockwise to loosen the string.
- Check the pitch again after each adjustment until the tuner shows the correct note in tune (usually indicated by a green light or centered needle).
Pro Tip: Always tune up to the note (tighten the string slightly past the desired pitch, then loosen it back down) to prevent the string from slipping out of tune.
Step 4: Tuning by Ear
If you’re tuning without an electronic tuner, use a tuning fork or pitch pipe to reference A440 (the A above middle C).
- Strike the tuning fork and place its base on the harp’s soundboard to amplify the sound.
- Pluck your harp’s A string and compare its pitch to the tuning fork. Adjust the string until both pitches match.
- Tune the remaining strings relative to the A string using intervals (e.g., tuning the D string a perfect fourth below A).
This method requires a well-trained ear, so beginners may find an electronic tuner easier.
Step 5: Fine-Tuning and Stability
After tuning all strings, play a few scales or chords to check for consistency. Strings often interact with each other, so slight readjustments may be needed.
- Lever Harps: Ensure all levers are disengaged (in the flat position) before tuning. After tuning, you can raise levers to sharp notes as needed.
- Pedal Harps: Tune all strings in the flat position first, then use the pedals to adjust sharps and naturals.
Maintaining Your Tuning
To keep your harp in tune longer:
- Store it properly: Avoid extreme temperatures and humidity. Use a humidifier in dry climates.
- Stretch new strings: New strings take time to settle and may require frequent tuning at first.
- Check tuning regularly: Even if you haven’t played much, environmental changes can affect pitch.
What to Look for in Tuning Accessories
When choosing tuning tools, consider:
- Compatibility: Ensure the tuning key fits your harp’s pins. Lever harp keys are often smaller than pedal harp keys.
- Tuner Accuracy: A chromatic tuner with a clear display and high sensitivity is best. For pedal harps, look for tuners with pedal diagram modes.
- Durability: A sturdy tuning key with a comfortable grip makes the process easier.
Troubleshooting Common Issues
- Slipping Strings: If a string won’t hold tune, the tuning pin may need tightening or the string may be worn and require replacement.
- Buzzing Strings: Check for loose levers or worn string windings.
- Inconsistent Pitch: Temperature fluctuations or improper string seating can cause this. Let the harp acclimate to the room before tuning.
Final Thoughts
Tuning your harp may seem daunting at first, but with practice, it becomes second nature. Regular tuning not only improves sound quality but also deepens your connection to the instrument. Invest in reliable tools, take your time, and enjoy the process of creating beautiful, in-tune music.
Happy tuning!
Our picks worth a closer look
- How To Play Lap Harp: The Ultimate Beginner’s Guide to Learning the Lap Harp witCheck on Amazon → — see current price and specs.
- How To Play Lever Harp: A Step-by-Step Beginner Guide to Learning the Lever HarpCheck on Amazon → — see current price and specs.
- HOW TO PLAY THE LYRE HARP: A Comprehensive Guide To Learning how To Play The LyrCheck on Amazon → — see current price and specs.
- HOW TO PLAY THE LYRE HARP FOR BEGINNERS: PLAY LIKE A PRO FROM SCRATCH: Unlock YoCheck on Amazon → — see current price and specs.
- HOW TO PLAY LAP HARP: A STEP-BY-STEP BEGINNER’S GUIDE TO PLAYING THE LAP HARP WICheck on Amazon → — see current price and specs.