
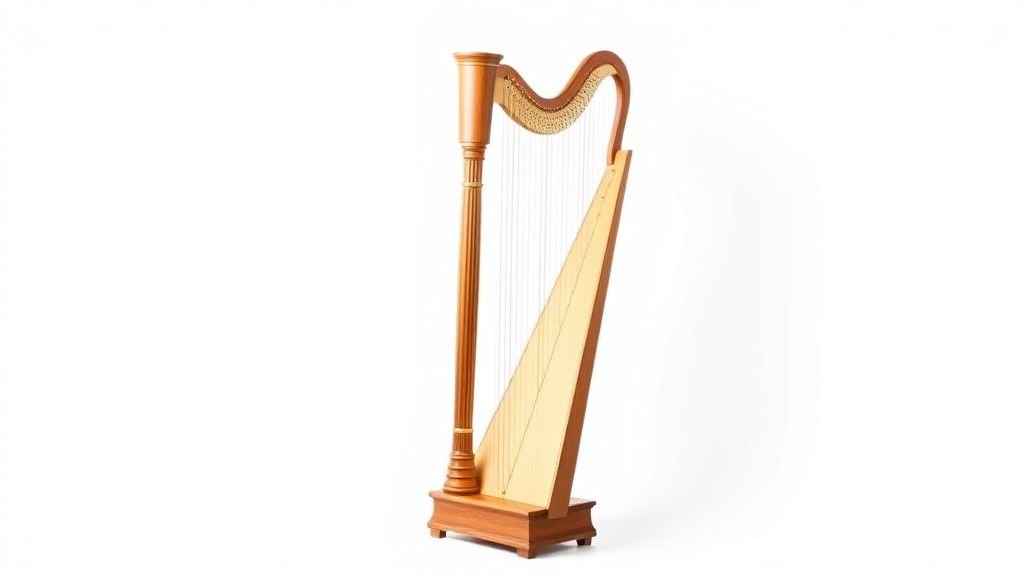
Harp Repairs: When to DIY and When to Call a Professional
Harp ownership comes with the responsibility of maintenance and occasional repairs. Whether you own a lever harp, pedal harp, or a smaller folk harp, knowing when to tackle repairs yourself and when to seek professional help can save time, money, and prevent further damage. This guide will help you assess common harp issues and make informed decisions.
Common Harp Repairs You Can DIY
Replacing Strings
One of the most frequent repairs harpists encounter is replacing broken or worn strings. Most harpists learn to do this themselves, as it’s a routine part of maintenance.
What You’ll Need:
- A new string (correct gauge and material for your harp)
- String winder or tuning key
- Needle-nose pliers (for lever harp levers)
Steps:
- Remove the broken string by unwinding it from the tuning pin.
- Thread the new string through the soundboard hole and secure it with a knot or bead (depending on your harp’s design).
- Wind the string onto the tuning pin, keeping tension even.
- Tune gradually to avoid over-tightening.
When to Call a Pro: If the string repeatedly breaks in the same spot, there may be a sharp edge on the bridge or tuning pin that needs professional filing.
Adjusting Lever Mechanisms (Lever Harps)
Lever harps rely on sharping levers to change pitch. Over time, levers may become loose or misaligned.
What to Look For:
- Levers that don’t engage smoothly
- Levers that buzz or rattle
- Uneven pitch changes when engaged
DIY Fix:
- Tighten the lever screw with a small screwdriver.
- Check lever alignment—if it’s bent, gently adjust it with pliers.
- Test the lever’s pitch change to ensure accuracy.
When to Call a Pro: If the lever still doesn’t function correctly, the cam or spring inside may need replacement—a job best left to a technician.
Minor Soundboard Cracks
Small cracks in the soundboard (especially near the string holes) can sometimes be stabilized with careful DIY work.
What You’ll Need:
- Thin wood glue (like Titebond)
- Clamps or masking tape
- Fine sandpaper
Steps:
- Apply a small amount of glue into the crack.
- Clamp or tape the area to hold it closed.
- Wipe away excess glue and let dry for 24 hours.
- Sand lightly if needed.
When to Call a Pro: If the crack is large, extends across the soundboard, or affects sound quality, a luthier should assess it.
Repairs Best Left to Professionals
Structural Damage
If your harp has suffered a fall or impact, structural damage (such as a cracked neck, pillar, or base) requires professional assessment. Attempting to glue or reinforce these parts yourself can lead to further weakening.
What to Look For:
- Visible splits in wood
- Loose joints
- Unstable tuning or leaning
Pedal Regulation (Pedal Harps)
Pedal harps have complex mechanisms that require precise adjustments. Misaligned pedals can cause tuning instability or uneven string tension.
Why DIY Isn’t Recommended:
- Specialized tools are needed for calibration.
- Incorrect adjustments can damage the harp’s action.
Major Soundboard Repairs
Large cracks, warping, or separation from the frame should always be handled by a professional. The soundboard is critical to tone production, and improper repairs can ruin the harp’s resonance.
What to Look for in a Harp Repair Professional
Not all repair technicians specialize in harps. When choosing a professional:
- Experience with Harps: Look for a luthier or technician who regularly works on harps (lever or pedal, depending on your instrument).
- References: Ask for testimonials from other harpists or music schools.
- Turnaround Time: Some repairs take weeks—ask for an estimate.
- Warranty: Reputable technicians often guarantee their work for a period.
Preventative Maintenance Tips
To minimize repairs:
- Keep your harp in a stable humidity environment (40-60% RH).
- Clean strings and soundboard regularly to prevent buildup.
- Check levers and tuning pins periodically for looseness.
By understanding which repairs you can handle and which require expert attention, you’ll keep your harp in top playing condition for years to come.
Our picks worth a closer look
- Lap Harp Professional Music Instrument Diy 10 Strings Harps Wh02 String Wooden NCheck on Amazon → — see current price and specs.
- Harp, AKLOT 15 Strings Mahogany Harp 22 Inch Height for Adult Professional BeginCheck on Amazon → — see current price and specs.
- LOTKEY 19 Strings Harp, Solid Mahogany Harps 29” W/Gig Bag,Tuning Wrench,StrapsCheck on Amazon → — see current price and specs.
- 6 Pack 8 Inch Wood Music Harp Lyre Cutouts Unfinished Wood Music Harp Lyre CraftCheck on Amazon → — see current price and specs.
- Basic Harp for BeginnersCheck on Amazon → — see current price and specs.