Why Cleaning and Polishing Your Harp Matters
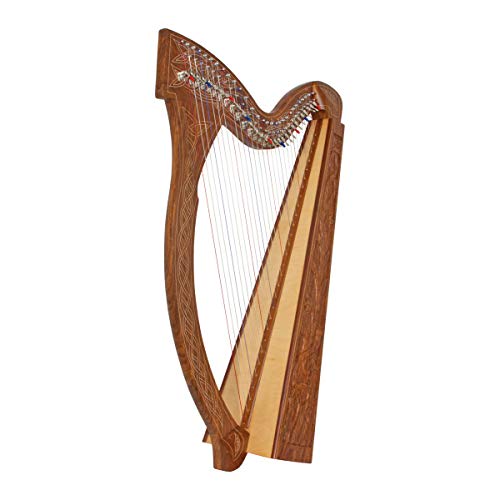
A well-maintained harp not only looks beautiful but also performs better and lasts longer. Dust, fingerprints, and environmental grime can dull the wood’s finish, while accumulated dirt on strings and mechanisms can affect sound quality. Regular cleaning and polishing prevent long-term damage, preserve resonance, and keep your instrument looking its best.
Essential Cleaning Supplies
Before starting, gather the right tools to avoid damaging delicate harp components:
- Microfiber cloths – Soft, lint-free cloths prevent scratches.
- Mild wood cleaner – A pH-neutral cleaner safe for finished wood.
- String cleaner – A specialized cloth or solution for metal or nylon strings.
- Soft brushes – A small, soft-bristle brush for hard-to-reach areas (e.g., levers, tuning pins).
- Polish – A high-quality, non-silicone polish for wooden surfaces.
- Dust cover – For protection between cleanings.
Avoid household cleaners, alcohol-based products, or abrasive pads, which can strip finishes or corrode strings.
Step-by-Step Cleaning Process
1. Dusting the Harp
Start by removing loose dust with a dry microfiber cloth. Gently wipe:
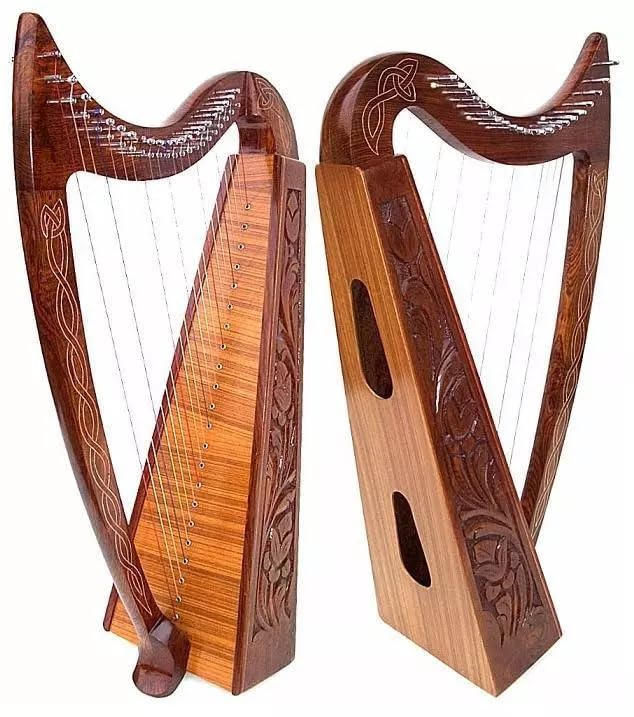
- The soundboard (front and back)
- The neck and pillar
- The base and any carvings
Use a soft brush for intricate areas like lever mechanisms or decorative details.
2. Cleaning the Wood
Dampen a microfiber cloth slightly with wood cleaner (never spray directly on the harp). Wipe along the grain to avoid streaks. Pay extra attention to areas with frequent contact, like the neck and base.
For stubborn grime, apply a small amount of cleaner to the cloth—not the harp—and rewipe with a dry cloth afterward.
3. Polishing the Finish
Once the wood is clean and dry, apply polish sparingly with a fresh cloth. Buff in circular motions for an even shine. Avoid over-polishing, as buildup can attract dust.
4. Cleaning the Strings
- Metal strings: Wipe with a dry microfiber cloth or a string-cleaning cloth to remove oils and dirt. For deeper cleaning, use a small amount of rubbing alcohol on a cloth (test on a small section first).
- Nylon/gut strings: Use a slightly damp cloth, then dry immediately to prevent moisture damage.
Never use metal polish or abrasive cleaners on strings—they can weaken or corrode them.
5. Maintaining Levers and Hardware
Check lever mechanisms for dust or stickiness. Use a soft brush to dislodge debris, then wipe with a dry cloth. If levers feel stiff, consult a technician—DIY lubrication can cause damage.
Frequency of Cleaning
- Daily: Dust with a microfiber cloth after playing.
- Weekly: Clean strings and wipe down wood.
- Monthly: Polish and deep-clean hard-to-reach areas.
- Seasonally: Inspect for finish wear or hardware issues.
Harpists in humid or dusty environments may need to clean more often.
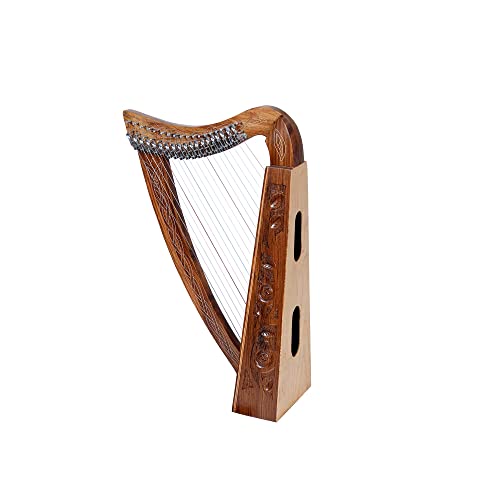
Protecting Your Harp Between Cleanings
- Use a dust cover when the harp isn’t in use.
- Store away from direct sunlight or heat sources to prevent finish damage.
- Wash hands before playing to minimize oil transfer.
- Keep a humidifier nearby in dry climates to prevent wood cracking.
What to Look for in Cleaning Products
When shopping for harp cleaning supplies, prioritize:
- Non-abrasive formulas – Avoid anything labeled “heavy-duty” or containing alcohol.
- Wood-safe ingredients – Look for “pH-neutral” or “for fine wood instruments” on labels.
- String-specific cleaners – Metal and nylon strings need different care.
- Soft, lint-free cloths – Microfiber or 100% cotton works best.
- Silicone-free polish – Silicone can damage finishes over time.
A small investment in quality cleaning tools will extend your harp’s life and keep it sounding pristine.
Final Tips
- Always test cleaners on a small, inconspicuous area first.
- Never spray liquids directly on the harp—apply to the cloth instead.
- For vintage or high-end harps, consult a professional for deep cleaning.
With regular care, your harp will remain a stunning, resonant instrument for years to come.