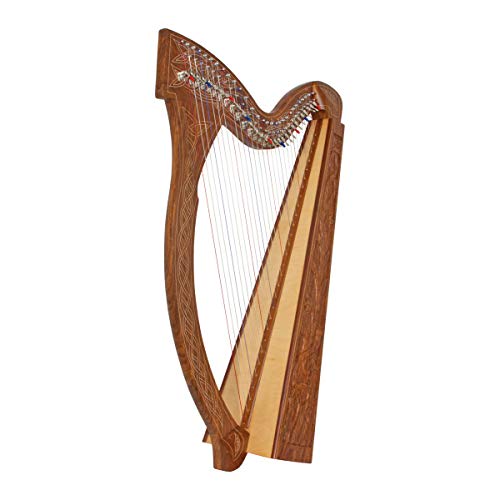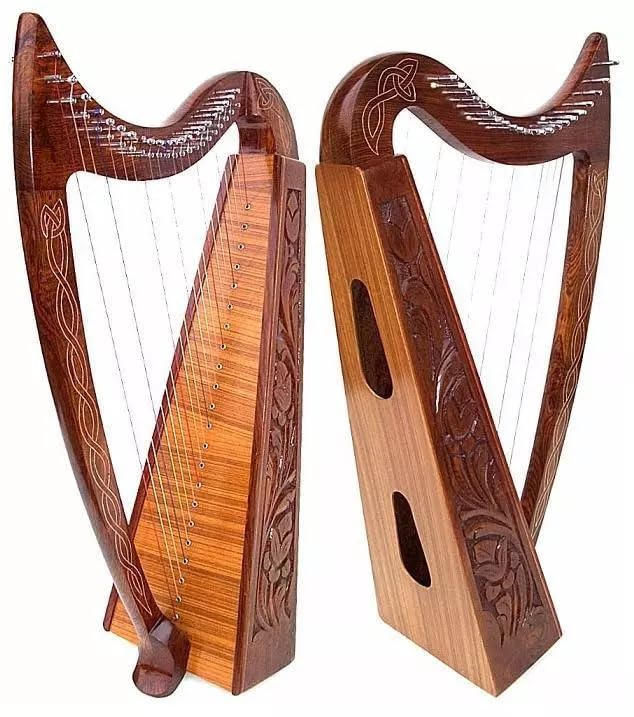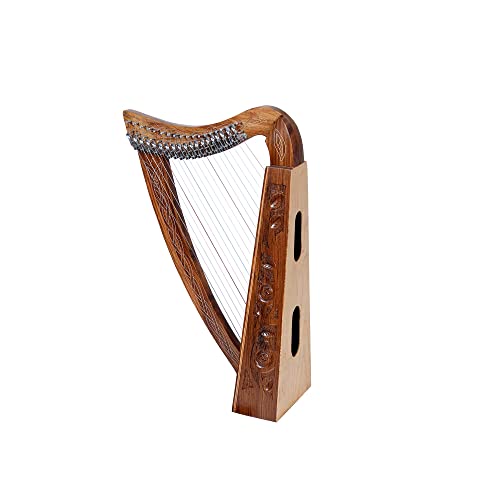
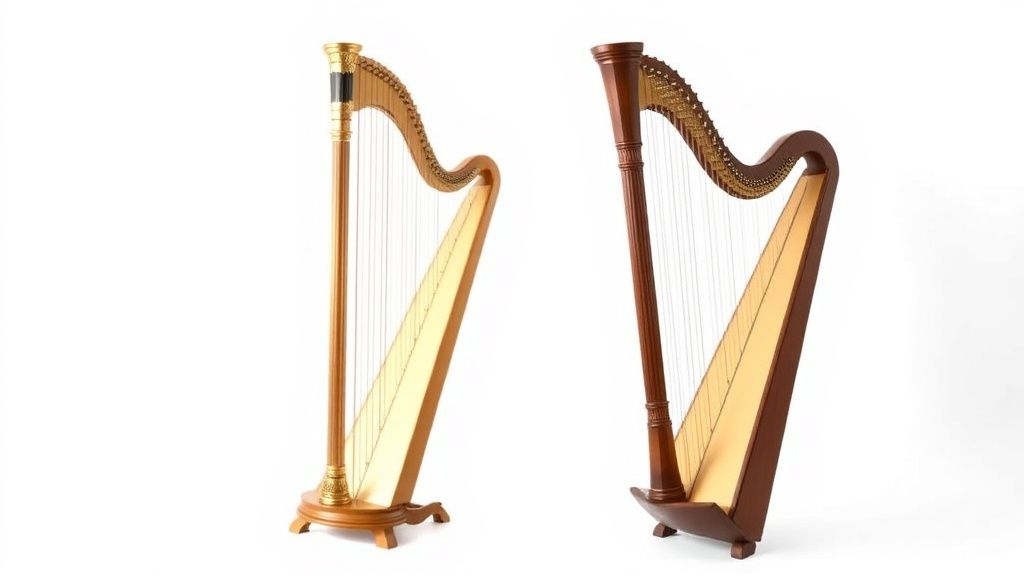
Why Harp Humidification Matters
Harpists know that proper humidity control is essential for maintaining the integrity of their instrument. Harps, especially those made of wood, are sensitive to changes in humidity. Too much moisture can cause swelling and warping, while too little can lead to cracking and shrinkage. Maintaining a consistent humidity level (typically between 40% and 60%) is crucial for preserving the harp’s sound quality and structural integrity.
While commercial humidifiers are available, DIY solutions can be equally effective and often more cost-efficient. Whether you’re a beginner or a seasoned harpist, these DIY humidifier options can help you protect your harp without breaking the bank.
Types of DIY Harp Humidifiers
Sponge-Based Humidifiers
One of the simplest and most affordable DIY humidifier options involves using a sponge. This method works well for smaller lever harps or for localized humidity control.
How to Make It:
- Use a clean, natural sponge (avoid synthetic materials that may release chemicals).
- Soak the sponge in distilled water, then wring it out slightly to avoid dripping.
- Place the sponge in a small, breathable container (like a mesh bag or perforated plastic container).
- Position the container inside the harp’s soundbox or near the strings, ensuring it doesn’t touch the wood directly.
Pros:
- Inexpensive and easy to assemble.
- Adjustable moisture level by controlling the sponge’s saturation.
Cons:
- Requires frequent monitoring and re-wetting.
- Not ideal for larger harps or environments with very low humidity.
Dampit-Style Humidifiers
Dampit humidifiers are popular for stringed instruments like violins and cellos, but they can also be adapted for harps.
How to Make It:
- Purchase a reusable fabric tube designed for humidification or repurpose a clean, absorbent cloth.
- Soak the fabric in distilled water, then gently squeeze out excess moisture.
- Insert the damp tube into the harp’s soundbox or other accessible areas.
Pros:
- Provides consistent, controlled humidity.
- Reusable and easy to maintain.
Cons:
- May require customization to fit larger harps.
- Needs regular re-wetting.
Water Trays with Hygrometers
For harpists looking to humidify an entire room or practice space, water trays combined with hygrometers can be an effective solution.
How to Set It Up:
- Place a shallow tray of distilled water near the harp (avoid placing it directly under the instrument to prevent spills).
- Add a hygrometer to monitor the humidity level in the room.
- Adjust the water level or tray size based on the hygrometer readings.
Pros:
- Ideal for maintaining consistent humidity in larger spaces.
- Low maintenance compared to sponge-based solutions.
Cons:
- Less precise control over humidity levels directly around the harp.
- Requires more space and regular monitoring.
Humidifier Bags
Humidifier bags are another DIY option that can be placed inside the harp’s soundbox or near the strings.
How to Make It:
- Fill a small breathable fabric bag with a humidity-retaining material like silica gel or clay beads.
- Add a small amount of distilled water to the material, ensuring it’s damp but not wet.
- Secure the bag inside the harp, avoiding direct contact with the wood.
Pros:
- Provides long-lasting humidity control.
- Can be customized to fit different harp sizes.
Cons:
- Requires occasional rehydration.
- May need trial and error to find the right moisture level.
Tips for Using DIY Humidifiers Safely
- Use Distilled Water: Tap water contains minerals that can leave deposits or promote mold growth. Always use distilled water for your humidifier solutions.
- Monitor Humidity Levels: Invest in a hygrometer to ensure the humidity stays within the ideal range (40%-60%).
- Avoid Direct Contact: Never place damp materials directly against the harp’s wood, as this can cause localized damage.
- Clean Regularly: Prevent mold and bacteria by cleaning your humidifier components regularly.
- Adjust Seasonally: Humidity needs can vary with the seasons, so be prepared to modify your setup as needed.
What to Look for in a Humidifier
If you decide to purchase a commercial humidifier instead of going the DIY route, here are some key features to consider:
- Size and Capacity: Choose a humidifier that’s appropriate for the size of your harp and the space where it’s stored.
- Adjustable Settings: Look for models with adjustable humidity levels to maintain the ideal range.
- Ease of Maintenance: Opt for humidifiers that are easy to clean and refill to ensure long-term use.
- Quiet Operation: A quiet humidifier is essential for practice spaces and performance areas.
- Portability: If you travel with your harp, consider a compact, portable humidifier.
Conclusion
Protecting your harp from humidity fluctuations doesn’t have to be expensive or complicated. With a little creativity and some basic materials, you can create effective DIY humidifier solutions tailored to your instrument’s needs. Whether you opt for a sponge-based system, a dampit-style humidifier, or a water tray setup, the key is consistency and careful monitoring.
By maintaining the right humidity level, you’ll ensure your harp stays in optimal condition, allowing you to focus on making beautiful music for years to come.